Tech Talk
Forum home - Go back to Tech talk
|
ELECTROSOUND 524 dial cord threading
|
|
|
« Back ·
1 ·
Next »
|
|
|
Return to top of page · Post #: 1 · Written at 1:42:58 PM on 24 December 2016.
|
|
|
|
Location: Kanahooka, NSW
Member since 18 November 2016 Member #: 2012 Postcount: 712 |
|
Does anyone have a dial cord thread diagram for an ELECTROSOUND 524 / 2 . 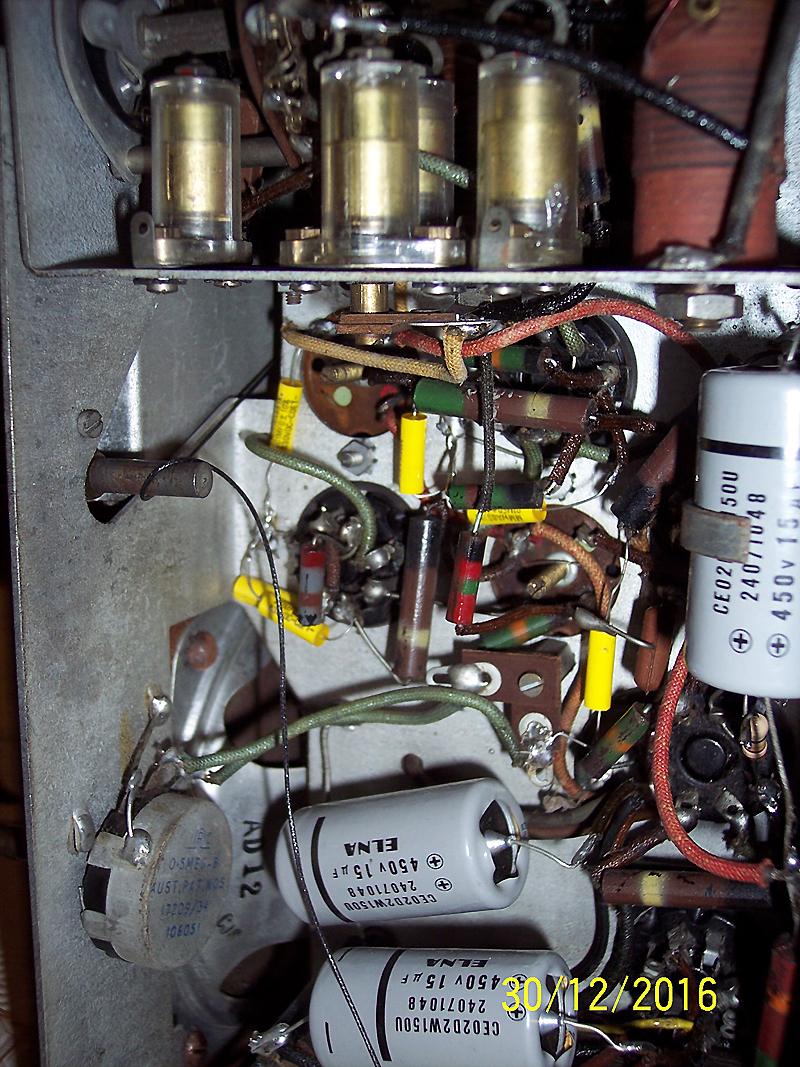 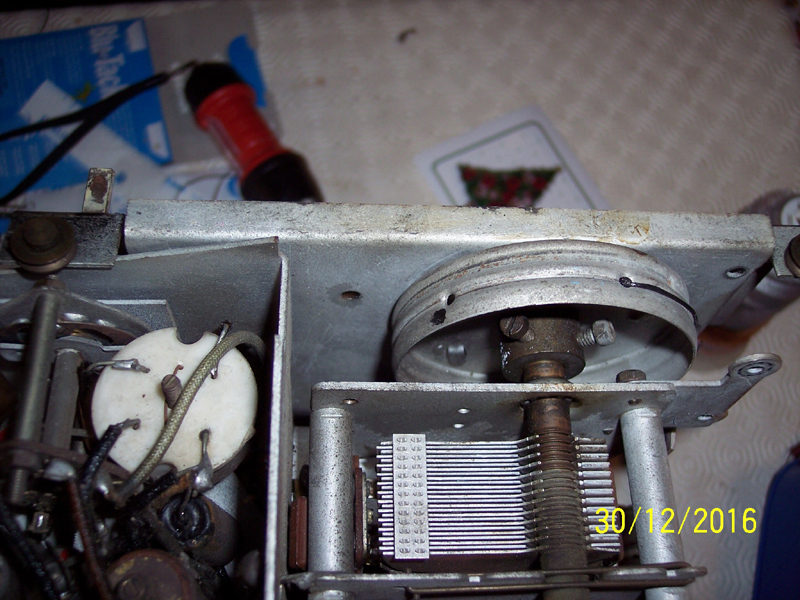 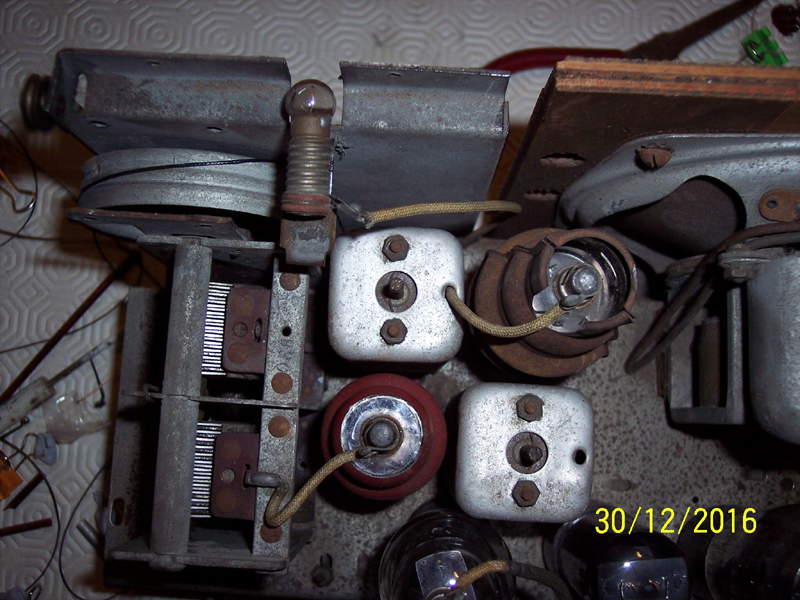 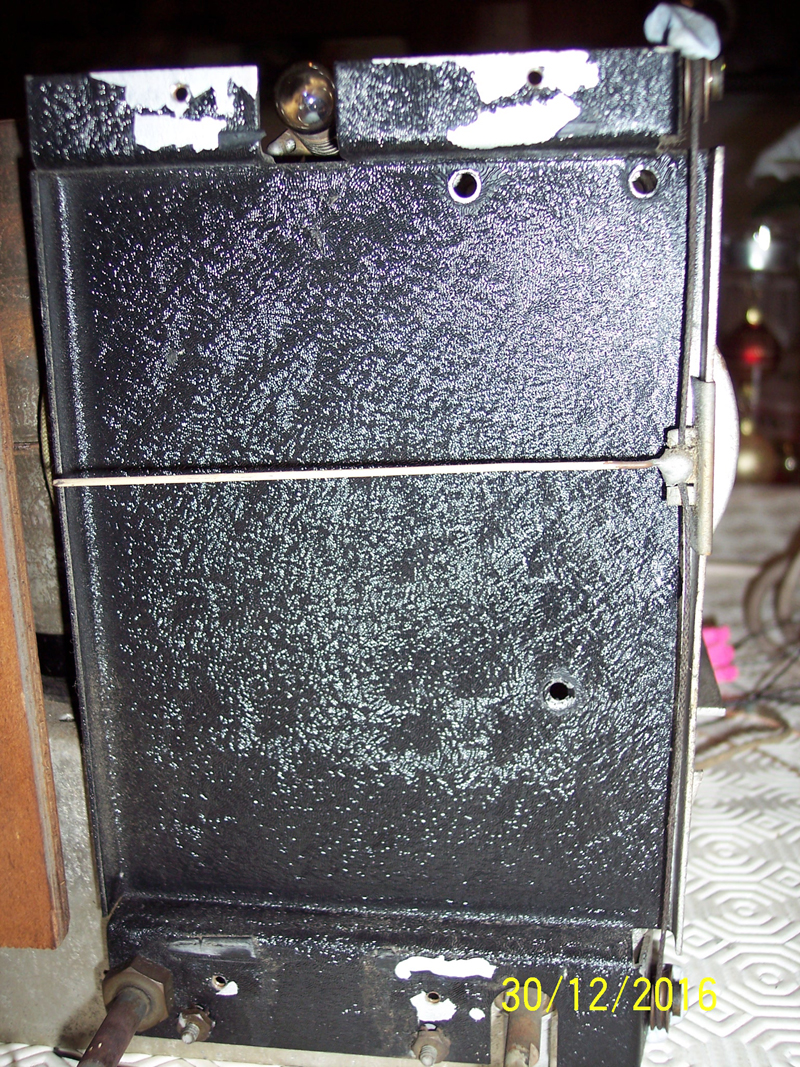 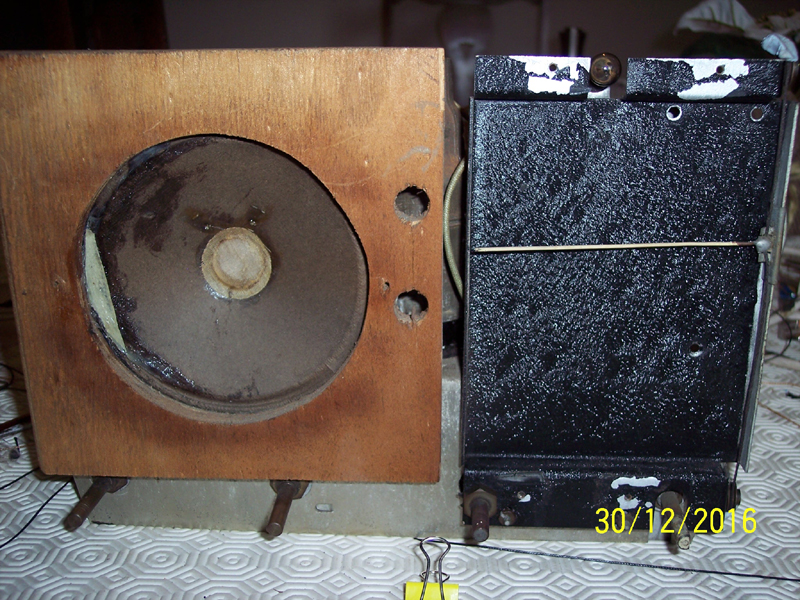 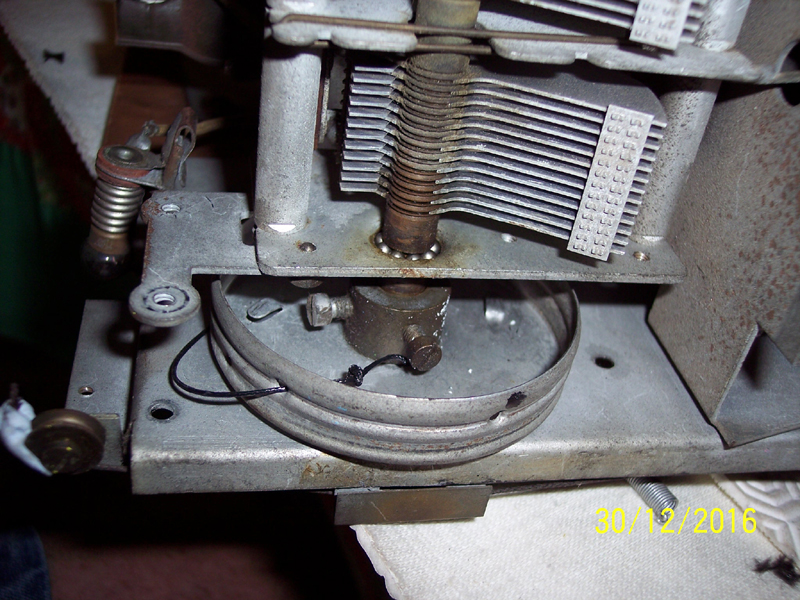 |
|
|
Return to top of page · Post #: 2 · Written at 8:41:59 PM on 24 December 2016.
|
|
|
|
Location: Wangaratta, VIC
Member since 21 February 2009 Member #: 438 Postcount: 5556 |
|
One can usually work that out from the pulleys. The drum just feeds out on one set of scores & takes up on the other. The double cable like a Tasma roller, is more of a pain. |
|
|
Return to top of page · Post #: 3 · Written at 12:37:08 PM on 26 December 2016.
|
|
|
|
Location: Kanahooka, NSW
Member since 18 November 2016 Member #: 2012 Postcount: 712 |
|
A decent photo would be good , I need to use bent pieces of wire to rake the cord around with , no room for fingers. |
|
|
Return to top of page · Post #: 4 · Written at 7:23:16 PM on 26 December 2016.
|
|
|
|
Location: Sydney, NSW
Member since 28 January 2011 Member #: 823 Postcount: 6863 |
|
Be careful to string it such that the dial indicator travels in the correct direction. I've managed to string them backwards more than once -- especially the complicated ones. |
|
|
Return to top of page · Post #: 5 · Written at 9:46:21 PM on 26 December 2016.
|
|
|
|
Location: Wangaratta, VIC
Member since 21 February 2009 Member #: 438 Postcount: 5556 |
|
Sticky tape & Blue Tack are your friends. Especially when stopping the cordage jumping out of the pulley scores. You take pics or draw pic of what you have. Crochet needles & long tweezers are handy. |
|
|
Return to top of page · Post #: 6 · Written at 10:06:58 PM on 26 December 2016.
|
|
|
|
Location: Kanahooka, NSW
Member since 18 November 2016 Member #: 2012 Postcount: 712 |
|
Thanks Marc. |
|
|
Return to top of page · Post #: 7 · Written at 9:52:05 AM on 27 December 2016.
|
|
|
|
Location: Adelaide, SA
Member since 27 February 2010 Member #: 630 Postcount: 398 |
|
Hi ‾‾‾‾‾‾‾‾‾‾‾‾‾‾‾‾‾‾‾‾‾‾‾‾‾‾‾‾‾‾‾‾‾‾‾‾‾‾‾‾‾‾‾‾‾‾‾‾‾‾‾‾‾‾‾‾‾‾‾‾‾‾‾‾‾‾‾‾ Valve radios, They just don't make them like they used to |
|
|
Return to top of page · Post #: 8 · Written at 12:41:09 PM on 27 December 2016.
|
|
|
|
Location: Kanahooka, NSW
Member since 18 November 2016 Member #: 2012 Postcount: 712 |
|
Thank you Dan. |
|
|
Return to top of page · Post #: 9 · Written at 11:13:59 PM on 27 December 2016.
|
|
|
|
Location: Wangaratta, VIC
Member since 21 February 2009 Member #: 438 Postcount: 5556 |
|
Draw, or photograph pulley positions..... don't care about any cordage that's missing. That's an item that shows me if some Monkey has been at the set when it comes in. |
|
|
Return to top of page · Post #: 10 · Written at 11:46:58 AM on 30 December 2016.
|
|
|
|
Location: Kanahooka, NSW
Member since 18 November 2016 Member #: 2012 Postcount: 712 |
|
Hello Marc. |
|
|
Return to top of page · Post #: 11 · Written at 12:02:19 PM on 30 December 2016.
|
|
|
|
Administrator
Location: Naremburn, NSW
Member since 15 November 2005 Member #: 1 Postcount: 7519 |
|
Destructions for uploading images are just above where you type your comments. ‾‾‾‾‾‾‾‾‾‾‾‾‾‾‾‾‾‾‾‾‾‾‾‾‾‾‾‾‾‾‾‾‾‾‾‾‾‾‾‾‾‾‾‾‾‾‾‾‾‾‾‾‾‾‾‾‾‾‾‾‾‾‾‾‾‾‾‾ A valve a day keeps the transistor away... |
|
|
Return to top of page · Post #: 12 · Written at 12:30:09 PM on 30 December 2016.
|
|
|
|
Location: Kanahooka, NSW
Member since 18 November 2016 Member #: 2012 Postcount: 712 |
|
I have come to the conclusion this might have had two dial cords, one for the pointer and one for the gang. I have another old chassis , again with no dial cord, however it has two springs. This would also account for why the dial cord drum has two separate grooves. The pointer is horizontal and runs up and down on the right hand edge of the dial glass support frame it has a pulley top and bottom on the dial glass frame. I can't believe I have nothing better to do with my time. I keep coming back to it because I won't let it beat me. |
|
|
Return to top of page · Post #: 13 · Written at 12:31:56 PM on 30 December 2016.
|
|
|
|
Location: Kanahooka, NSW
Member since 18 November 2016 Member #: 2012 Postcount: 712 |
|
Thanks Brad. |
|
|
Return to top of page · Post #: 14 · Written at 4:15:43 PM on 30 December 2016.
|
|
|
|
Location: Kanahooka, NSW
Member since 18 November 2016 Member #: 2012 Postcount: 712 |
|
Success !. |
|
|
« Back ·
1 ·
Next »
|
|
|
You need to be a member to post comments on this forum.
|
|

Sign In

Vintage Radio and Television is proudly brought to you by an era where things were built with pride and made to last.
DISCLAIMER: Valve radios and televisions contain voltages that can deliver lethal shocks. You should not attempt to work on a valve radio or other electrical appliances unless you know exactly what you are doing and have gained some experience with electronics and working around high voltages. The owner, administrators and staff of Vintage Radio & Television will accept no liability for any damage, injury or loss of life that comes as a result of your use or mis-use of information on this website. Please read our Safety Warning before using this website.
WARNING: Under no circumstances should you ever apply power to a vintage radio, television or other electrical appliance you have acquired without first having it checked and serviced by an experienced person. Also, at no time should any appliance be connected to an electricity supply if the power cord is damaged. If in doubt, do not apply power.
Shintara - Keepin' It Real · VileSilencer - Maintain The Rage

